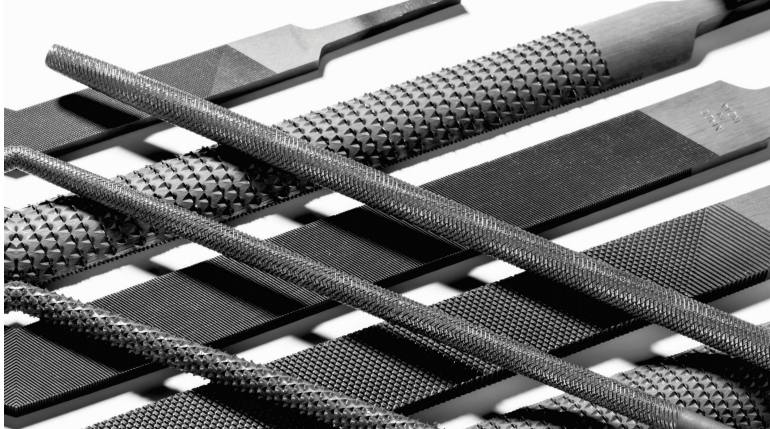
A saw taper file is a specialized tool used for sharpening saw teeth. Here's how it's typically used:
1.Select the Right File: Make sure you have the correct file size for your saw teeth. Using the wrong size can damage the teeth.
2.Secure the Saw: Place the saw in a vise or clamp it securely to a workbench to prevent movement while filing.
4.Position the File: Hold the file at the same angle as the saw teeth. The taper file is designed to match the angle of the teeth, so this should be relatively intuitive.
4.Position the File: Hold the file at the same angle as the saw teeth. The taper file is designed to match the angle of the teeth, so this should be relatively intuitive.
6.Even Strokes: Apply even pressure as you file each tooth. Avoid pressing too hard, as this can cause uneven sharpening or damage the teeth.
7.Check Progress: Periodically stop filing to check the sharpness of the teeth. You can run your finger lightly along the edge to feel for any burrs or irregularities.
8.Repeat as Necessary: Continue filing each tooth until they are all uniformly sharp. Depending on the condition of the saw, you may need to spend more time on some teeth than others.
9.Clean Up: Once you're satisfied with the sharpness of the teeth, remove the saw from the vise or clamp and clean off any metal shavings or debris.
10.Test the Saw: Before putting the saw back into regular use, make a few test cuts to ensure that the teeth are cutting smoothly and efficiently.
Remember, proper maintenance of your saw, including regular sharpening, will help prolong its lifespan and ensure optimal performance.


